


The introduction about the tool and it's features was covered in a previous post, if you want to read about it, please click here : "FTK Imager".
1. Create Disk Image along with Hash Report Generation
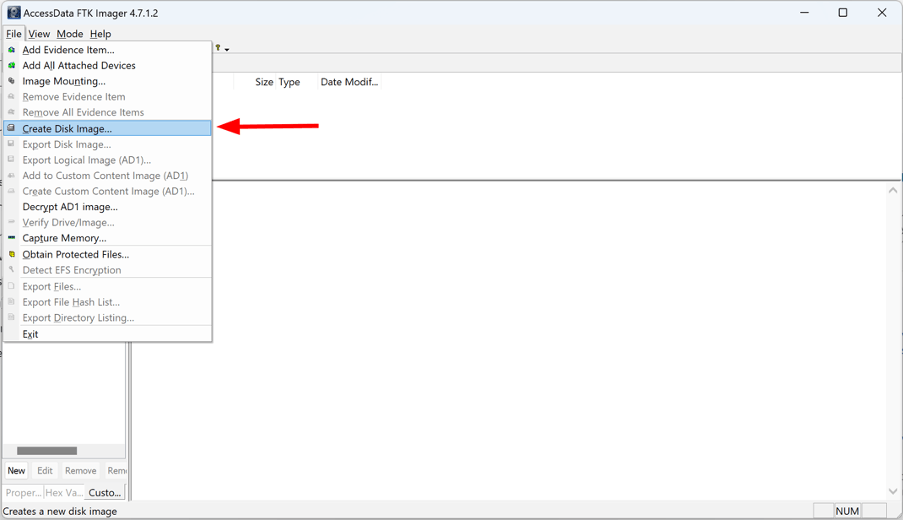
First click on ‘File’, then ‘Create Disk Image’.
Select the appropriate source type:

Select the evidence source path.

Click on:
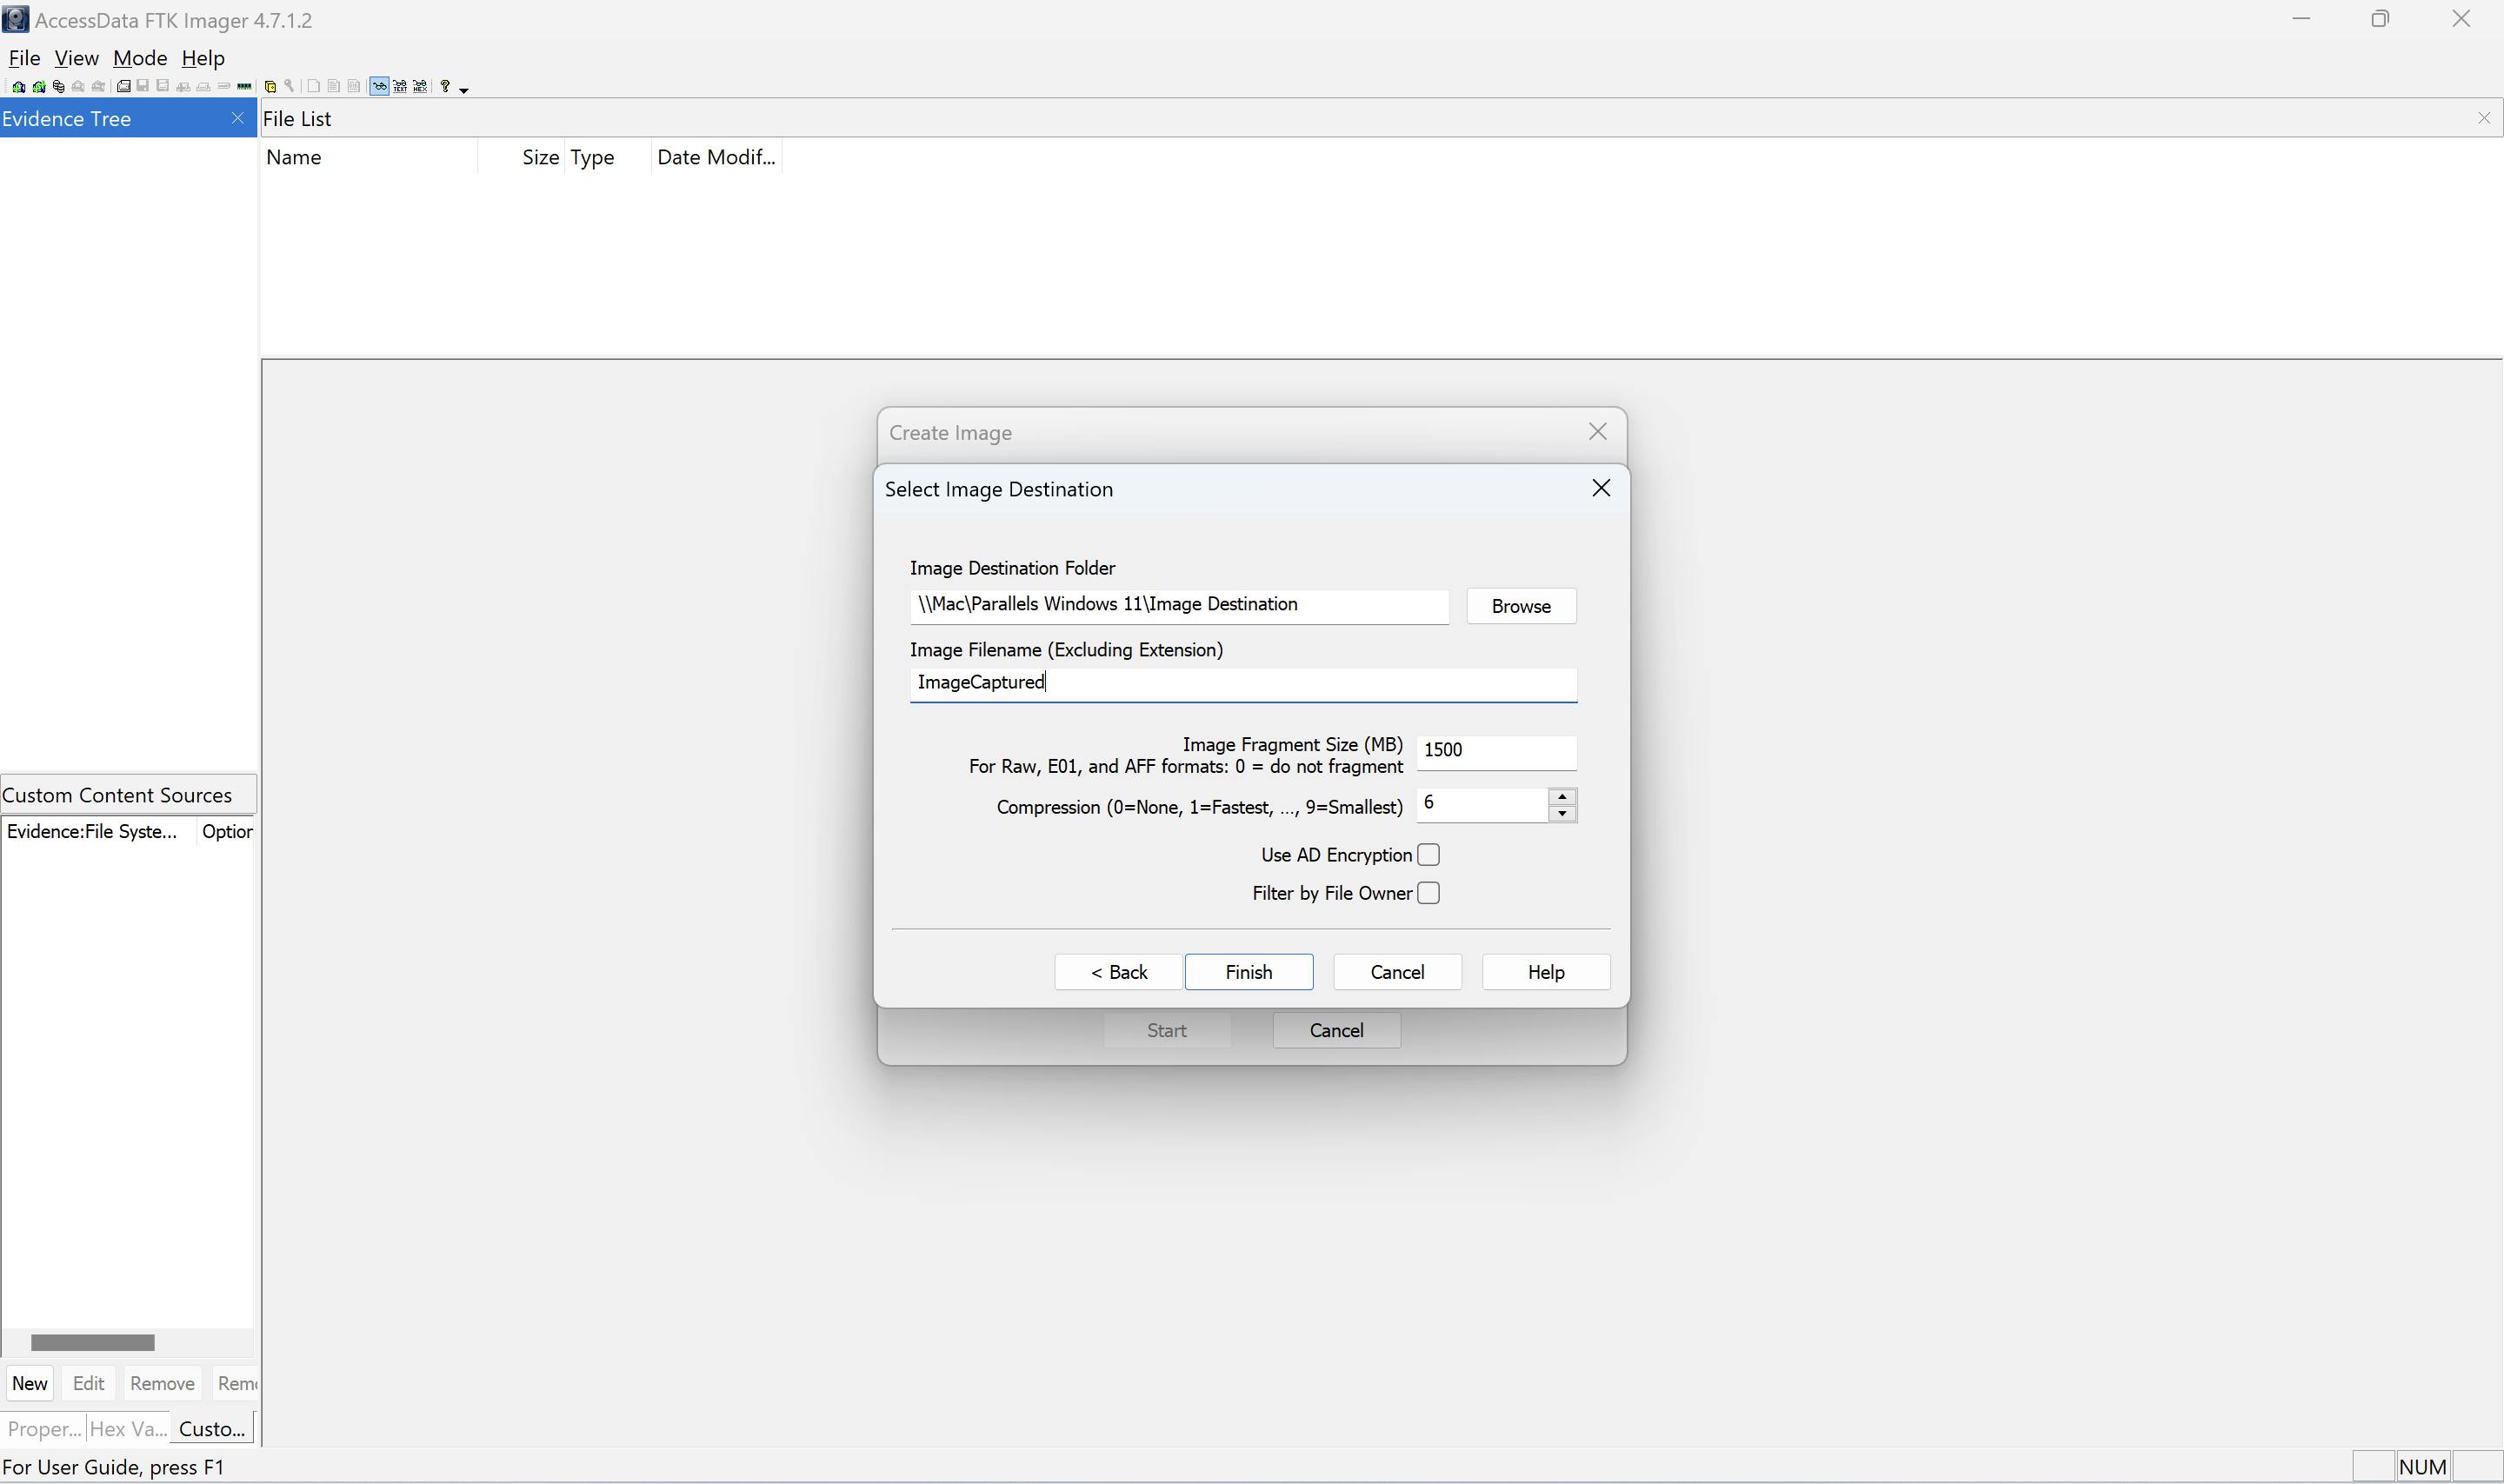
(1) "Add" - To add the destination path for the created image.
(2) "Verify images after they are created" - To verify the integrity of the image generated with the source.

Fill out the details as needed (Optional).

Select the "Image Destination Folder" and the "Image Filename" and Click on "Finish".
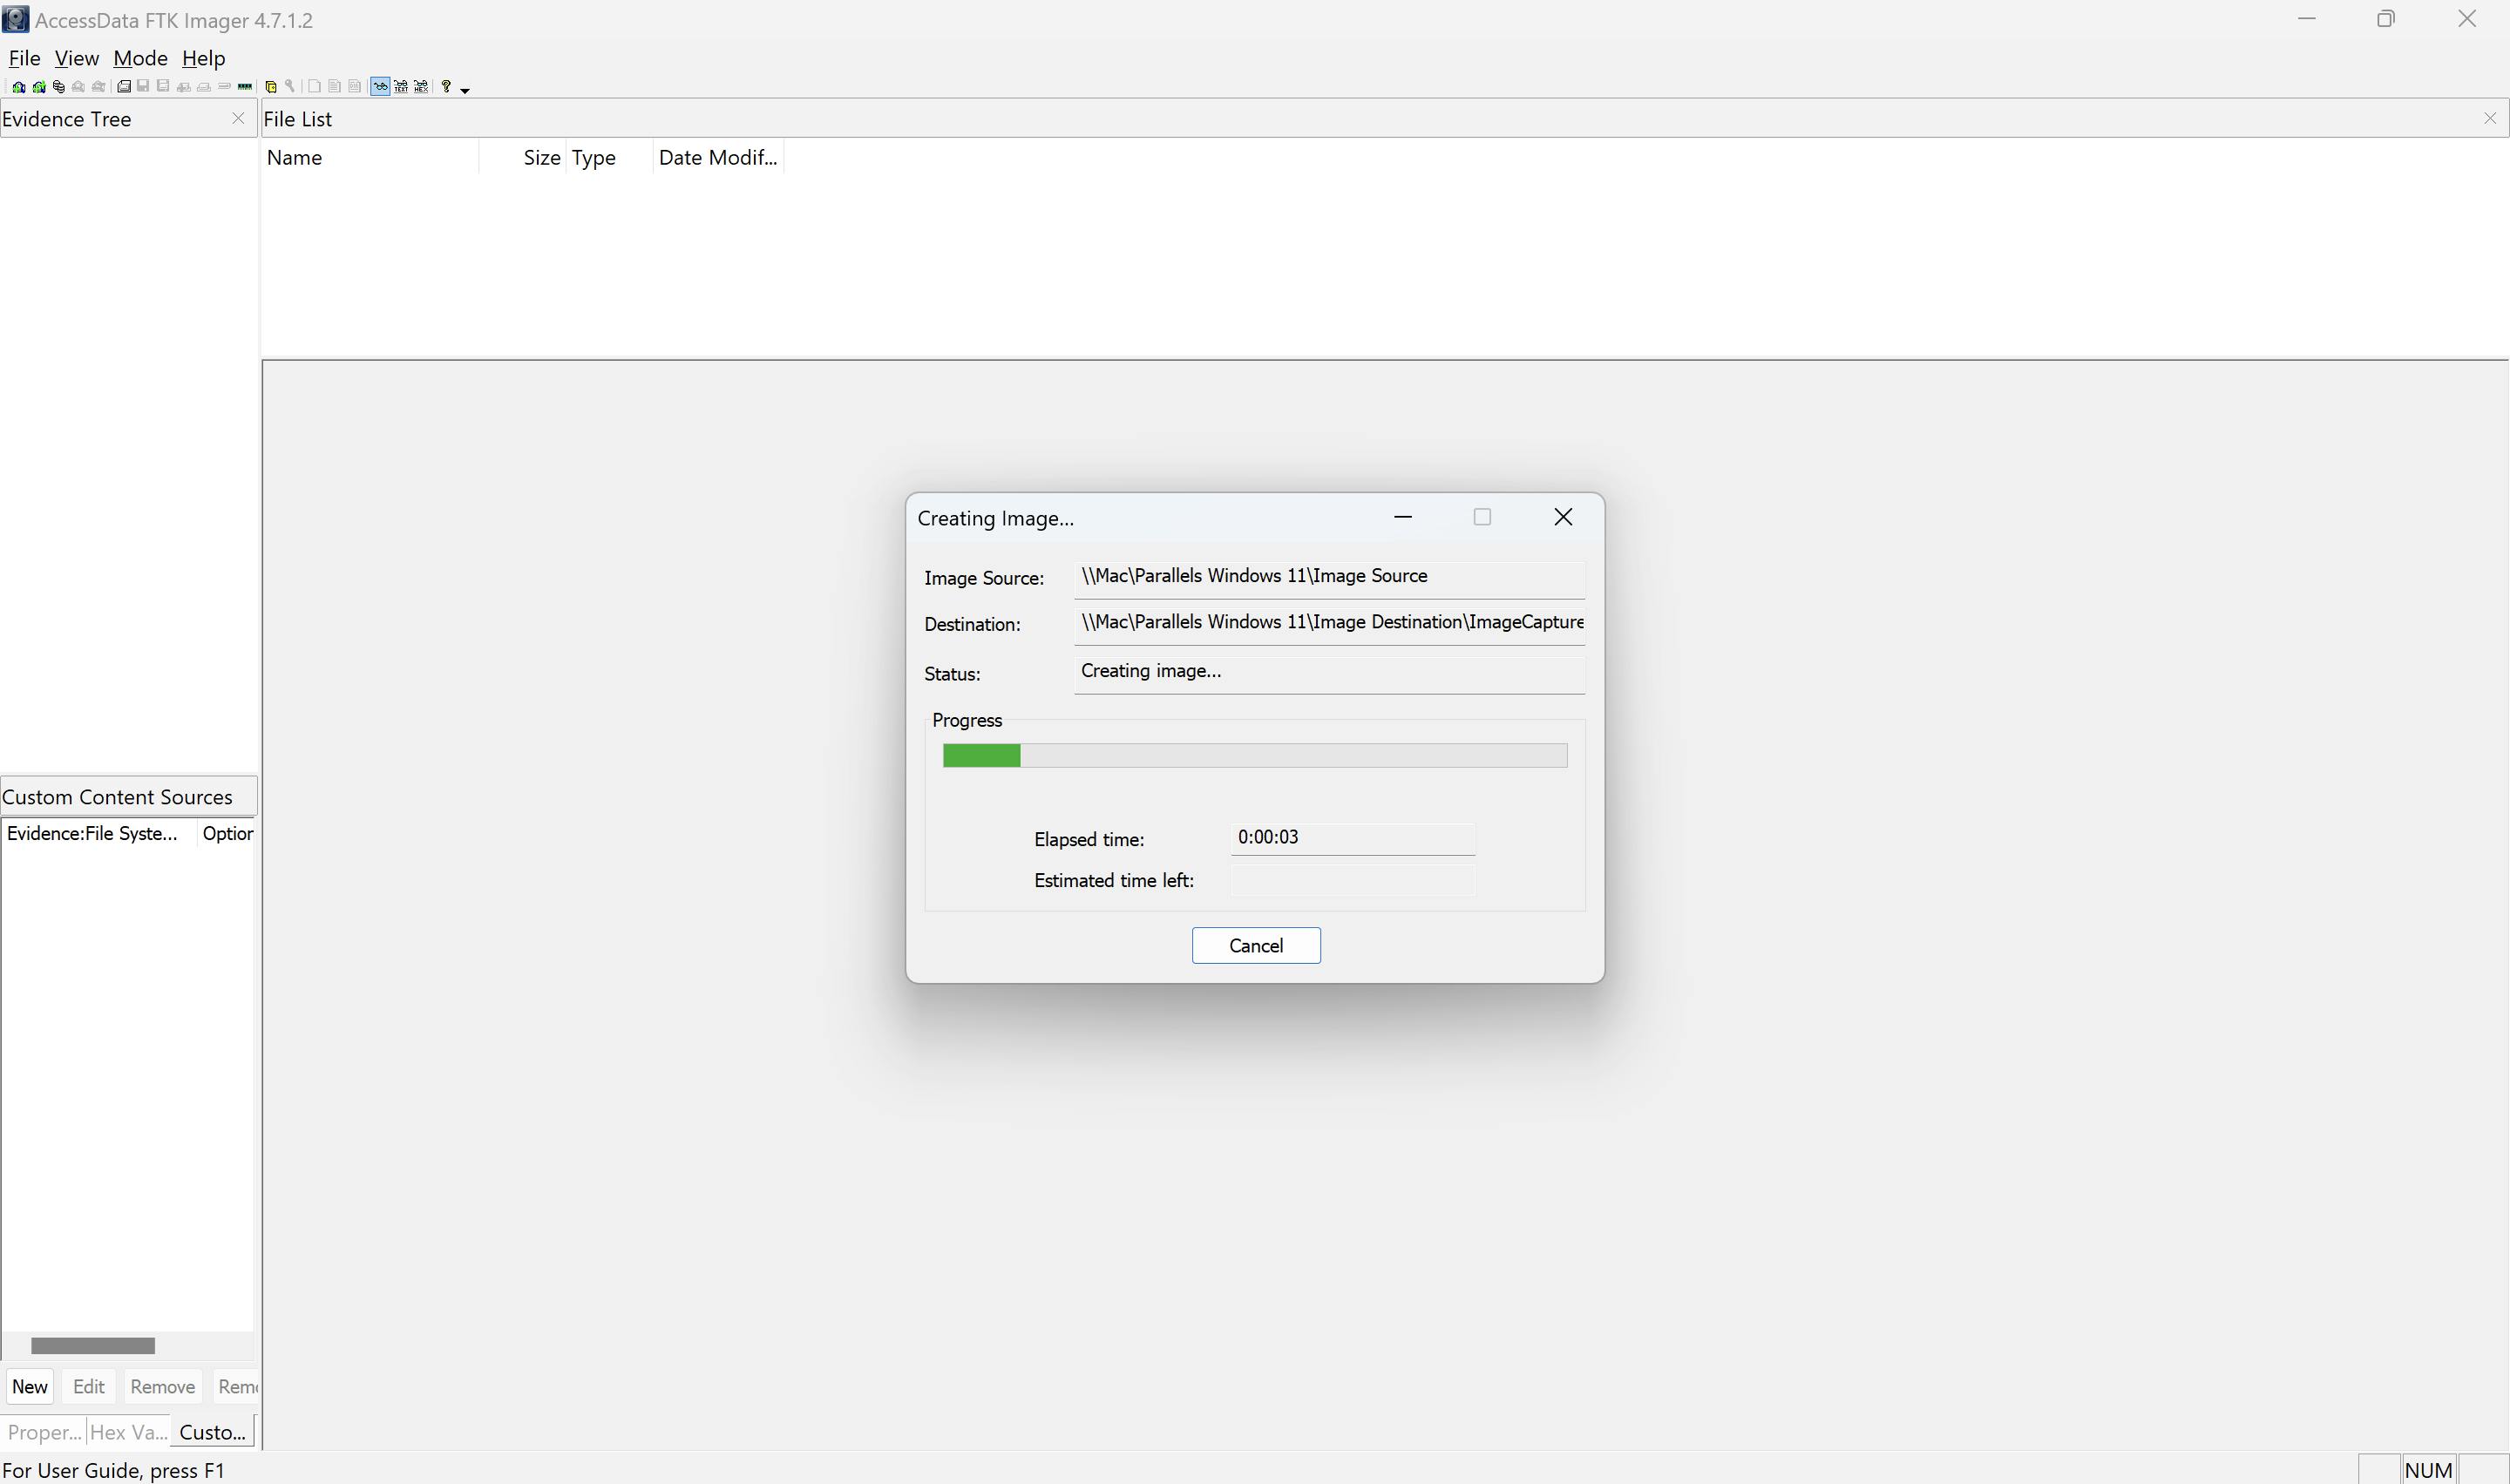
Click on "Start" to start the Image Creation process.

Once the Image is created, you can check the integrity of the same by clicking on "Image Summary".


The image has been successfully created and present at the destination location specified during the process. The image summary is also present at the destination location along with the hash report as well.
In conclusion, the ability to create disk images along with hash report generation is vital in digital forensics. FTK Imager streamlines this process with its intuitive interface and robust functionality. By ensuring the integrity of the evidence through hash verification, investigators can confidently analyze digital data while maintaining the integrity of the original evidence.
2. Add Evidence Item
Click on "Add Evidence Item".

Select the "Source Evidence Type" and click on "Next".

Select the corresponding file to be added as Evidence Item.

Once the source evidence file is selected, you can click on "Finish".
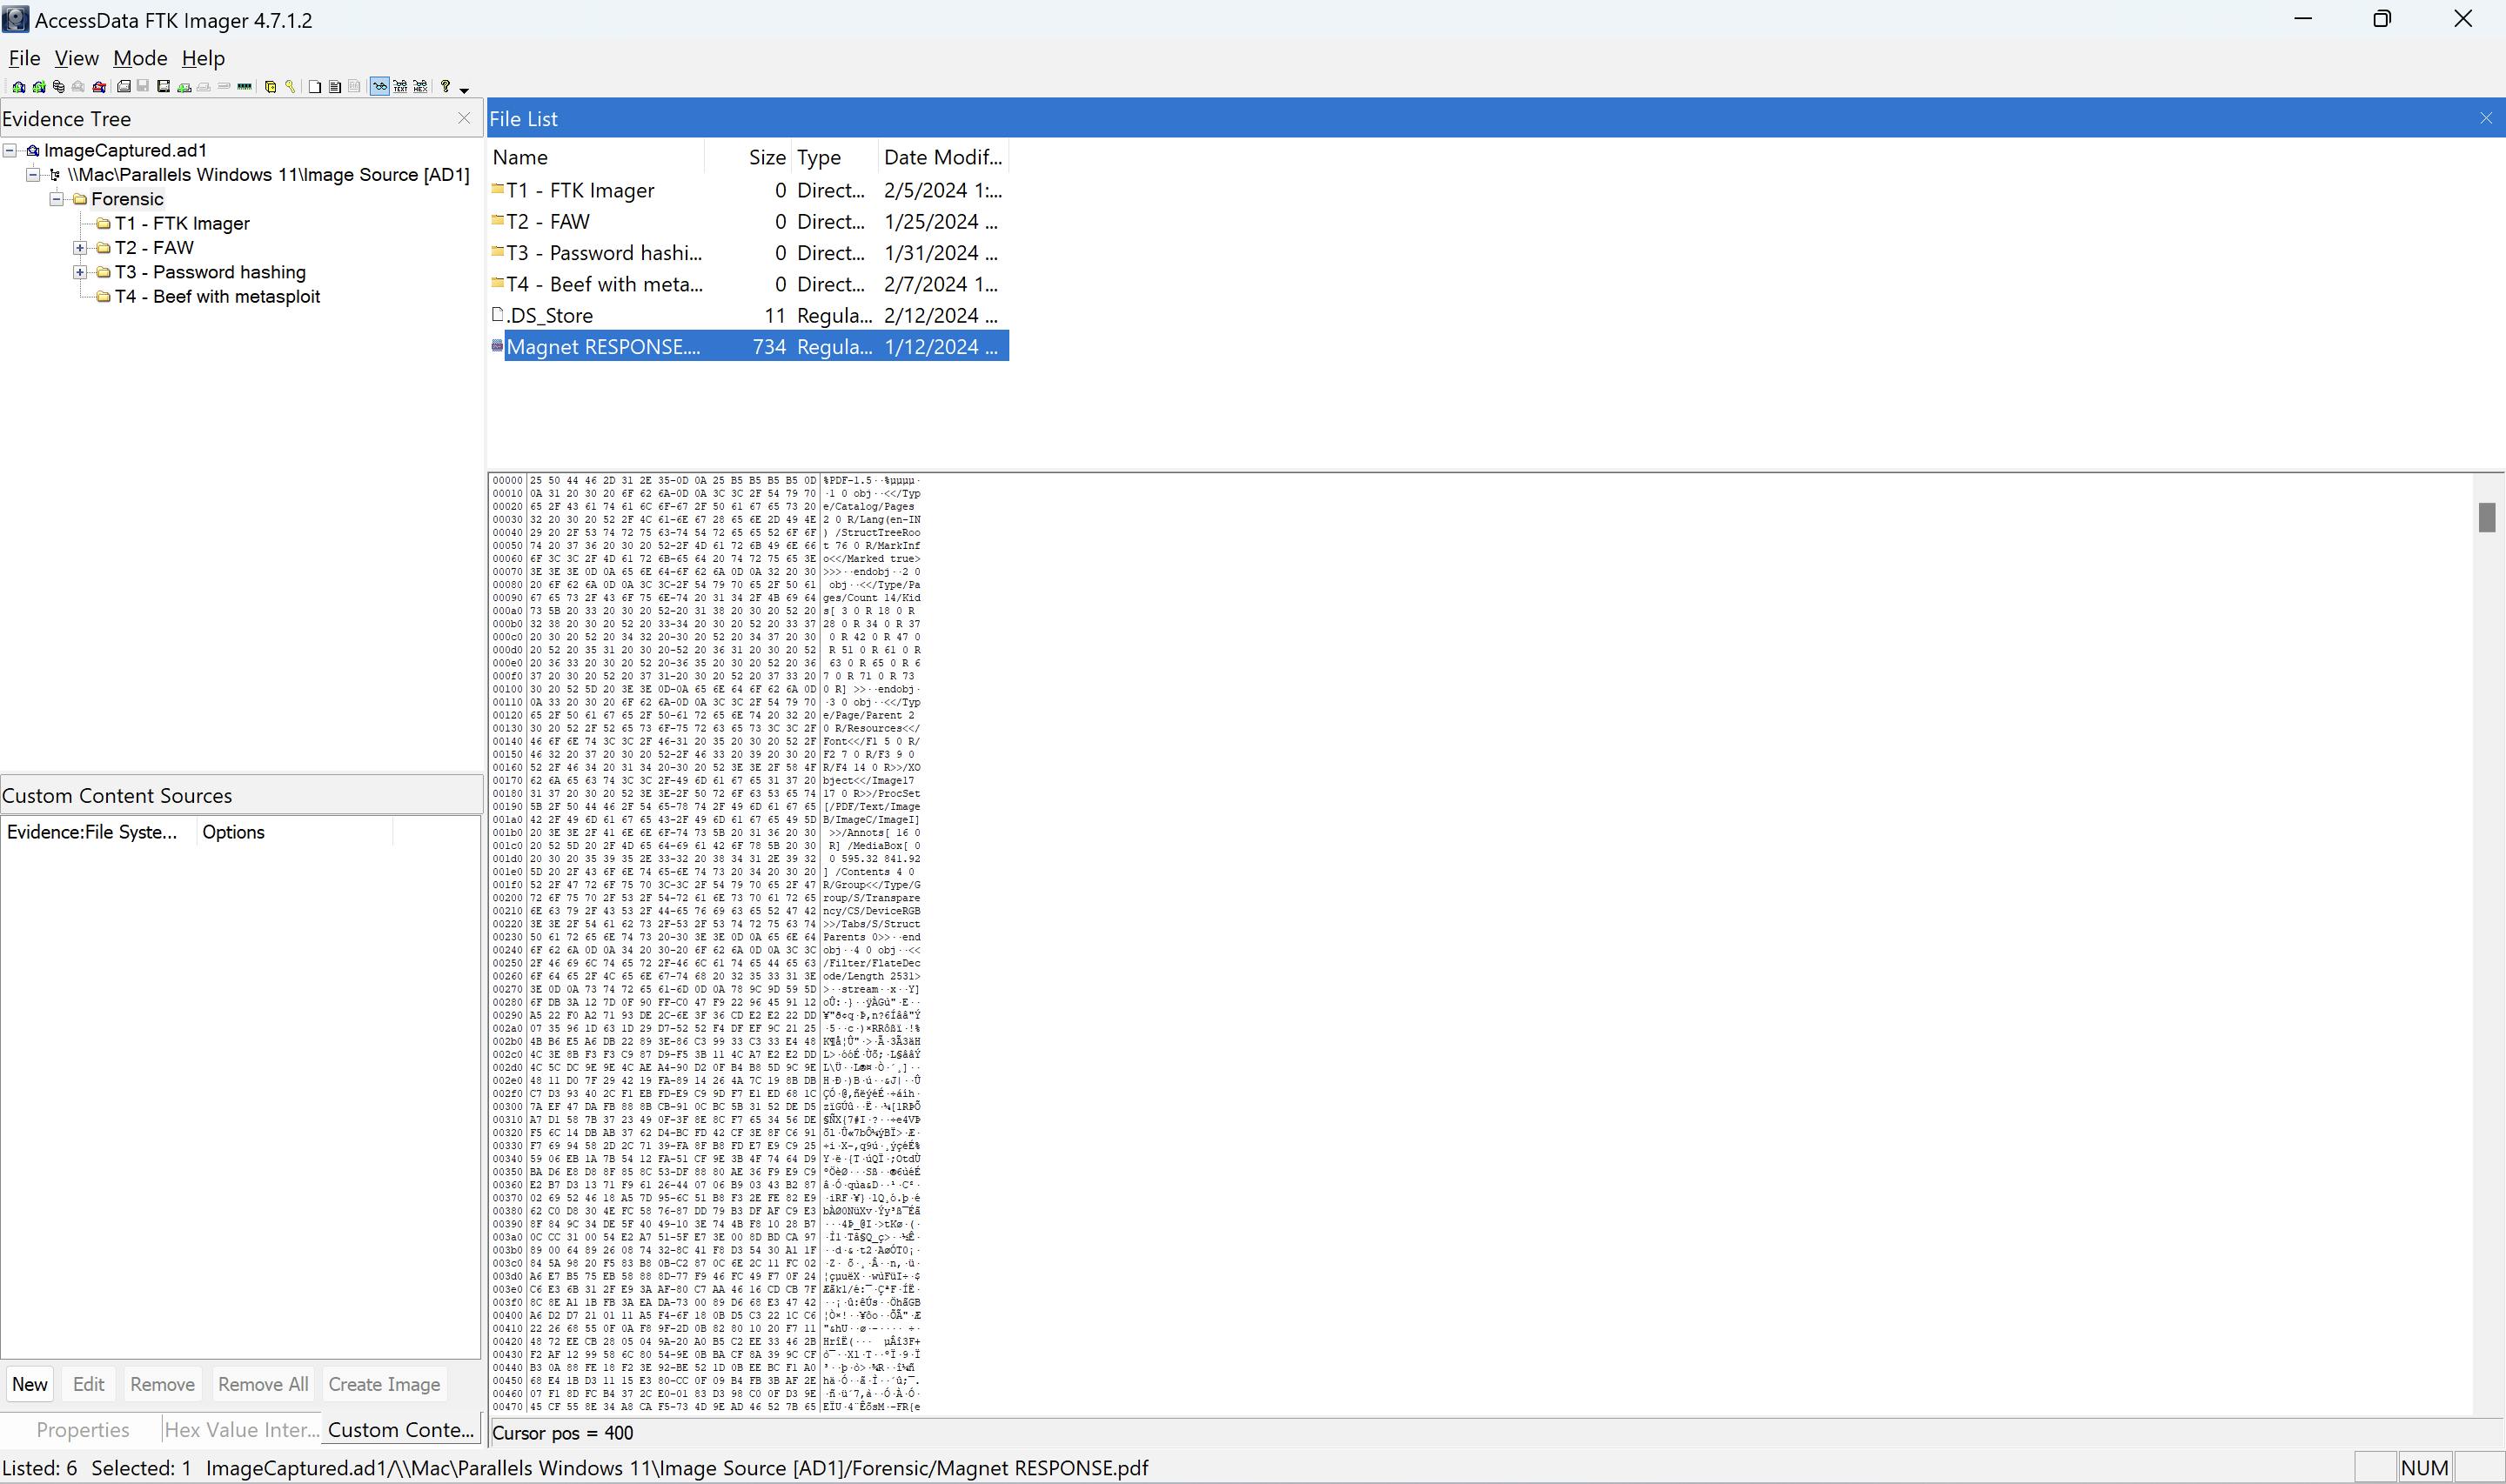
On the left hand side, under "Evidence Tree" you can see the "Source Evidence File".
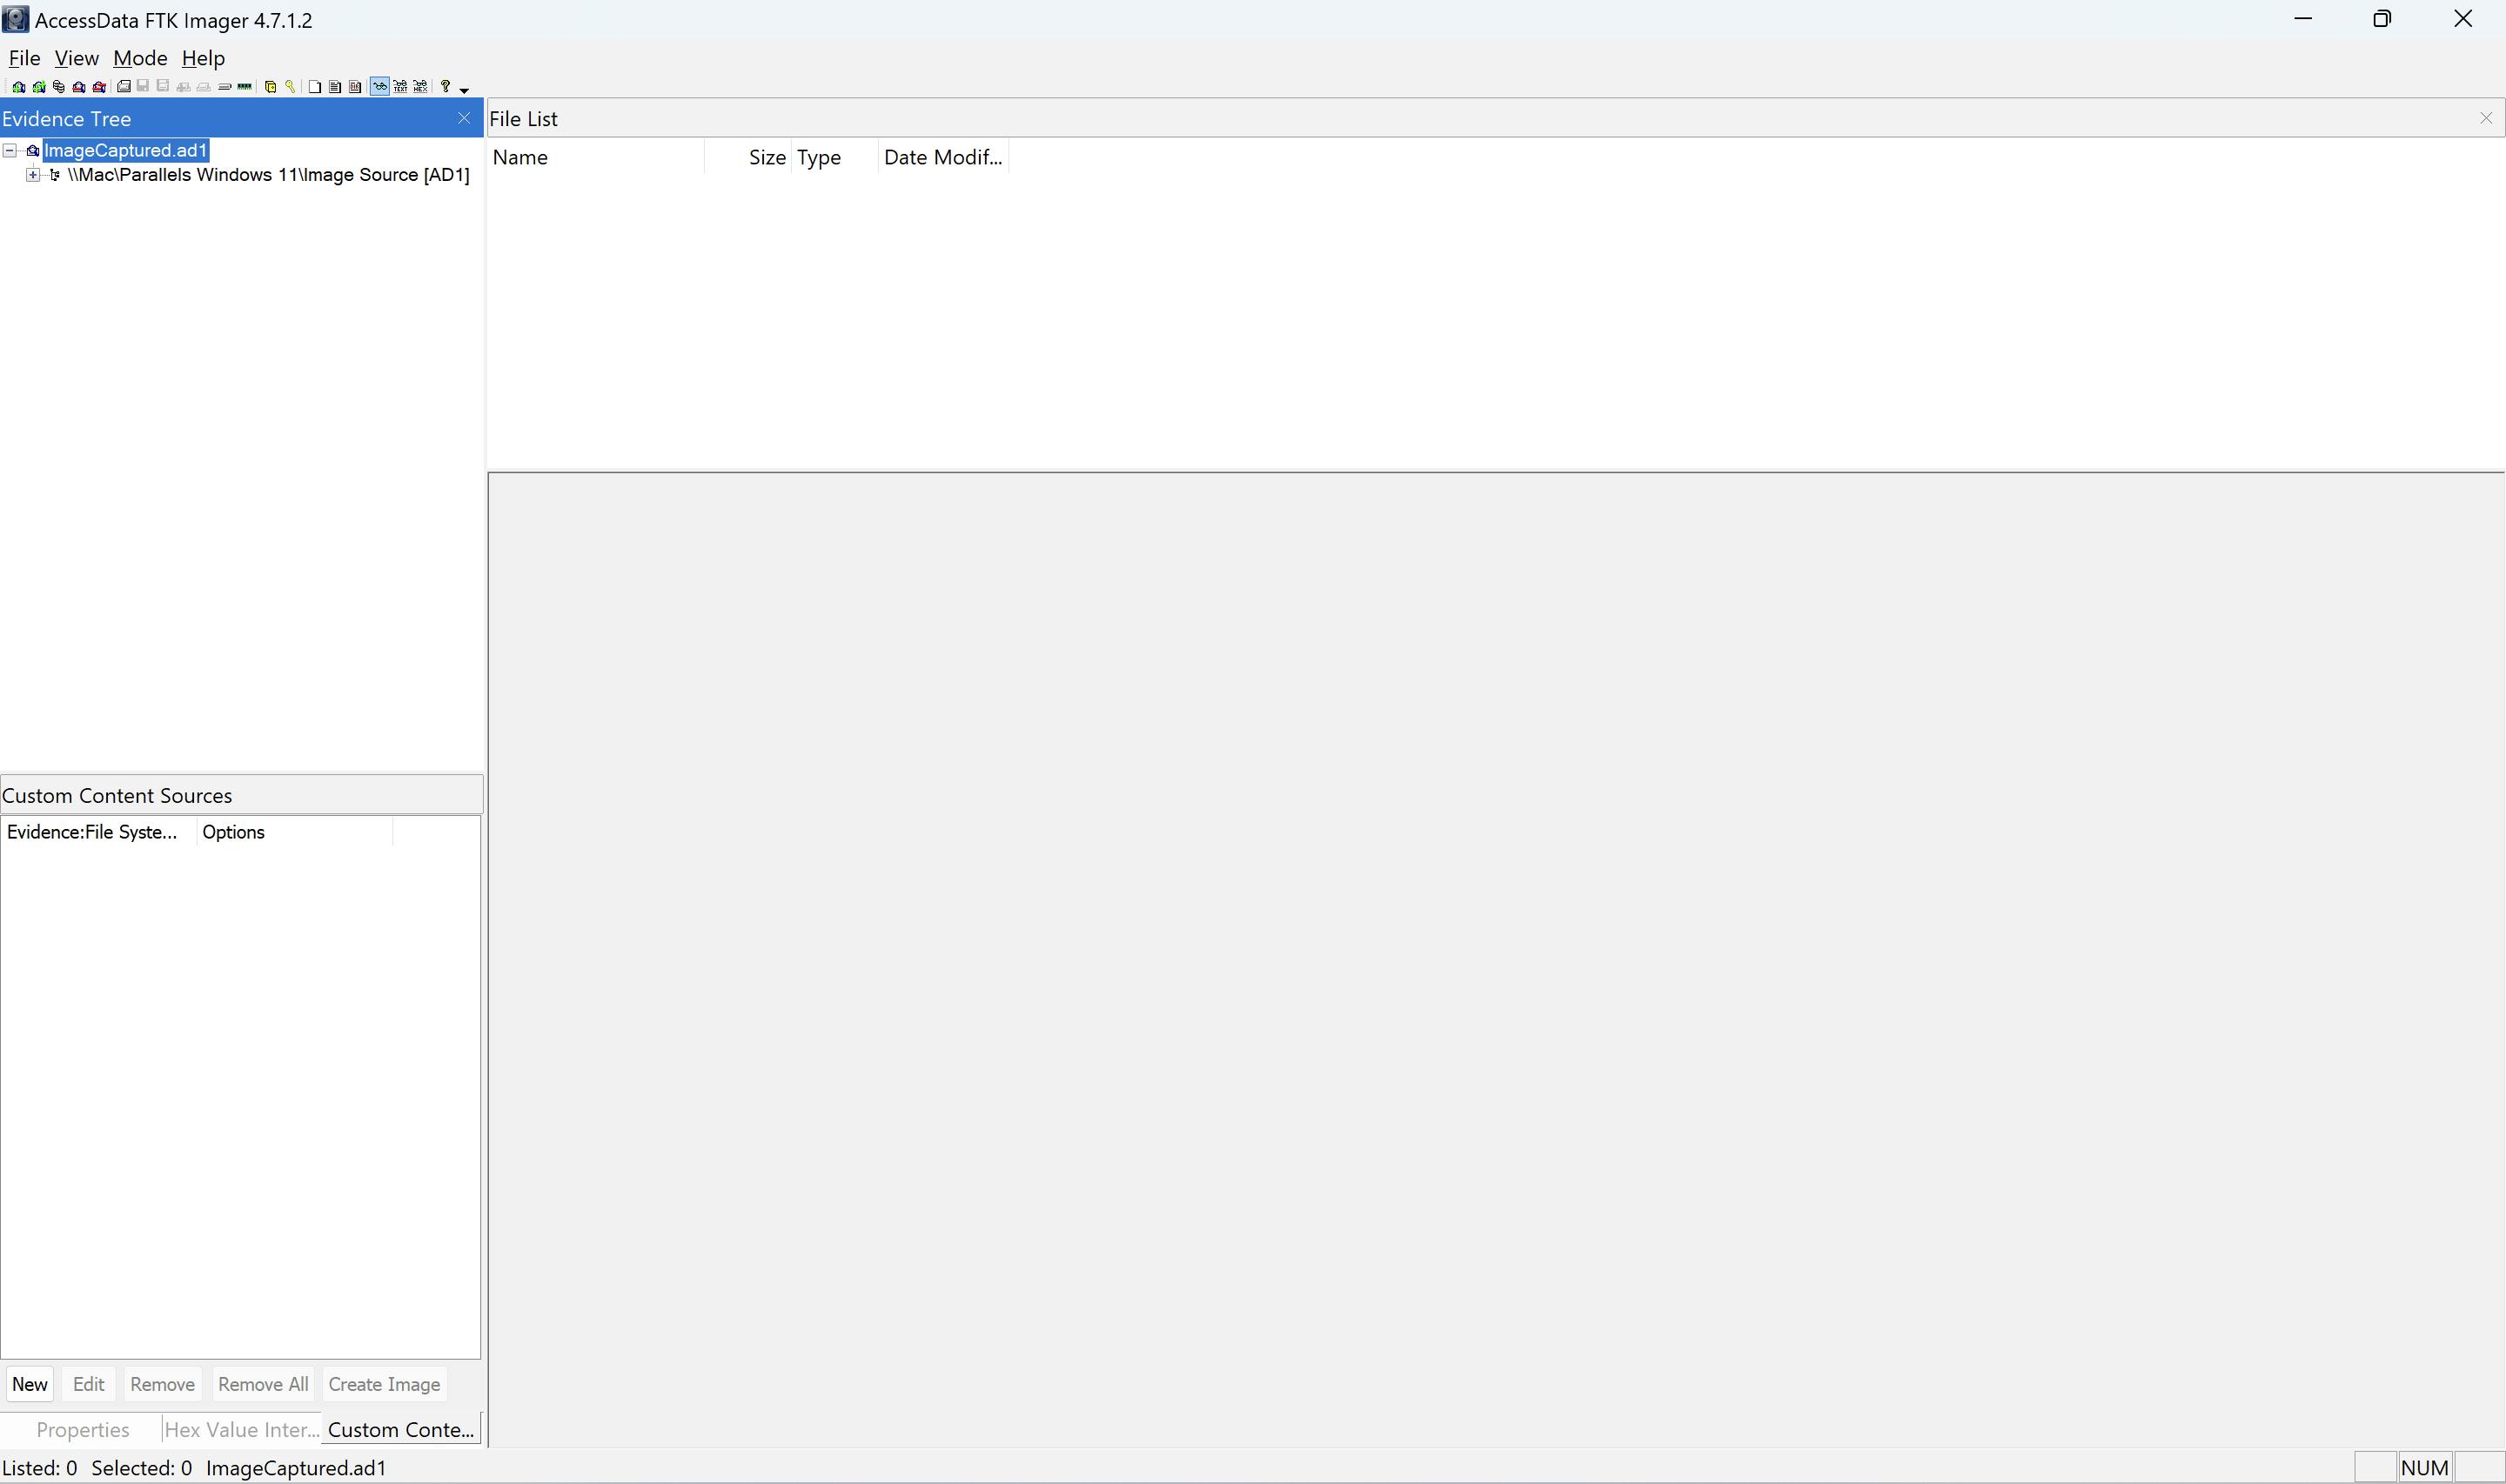
You can see the directories and files present within the "Evidence File".
Adding evidence items in FTK Imager provides investigators with the flexibility to incorporate various sources of digital evidence into their investigations. Whether it's a file, directory, or entire disk image, FTK Imager makes the process of adding evidence items simpler which allows investigators to thoroughly examine digital data for forensic analysis.
3. Forensic Image Mounting
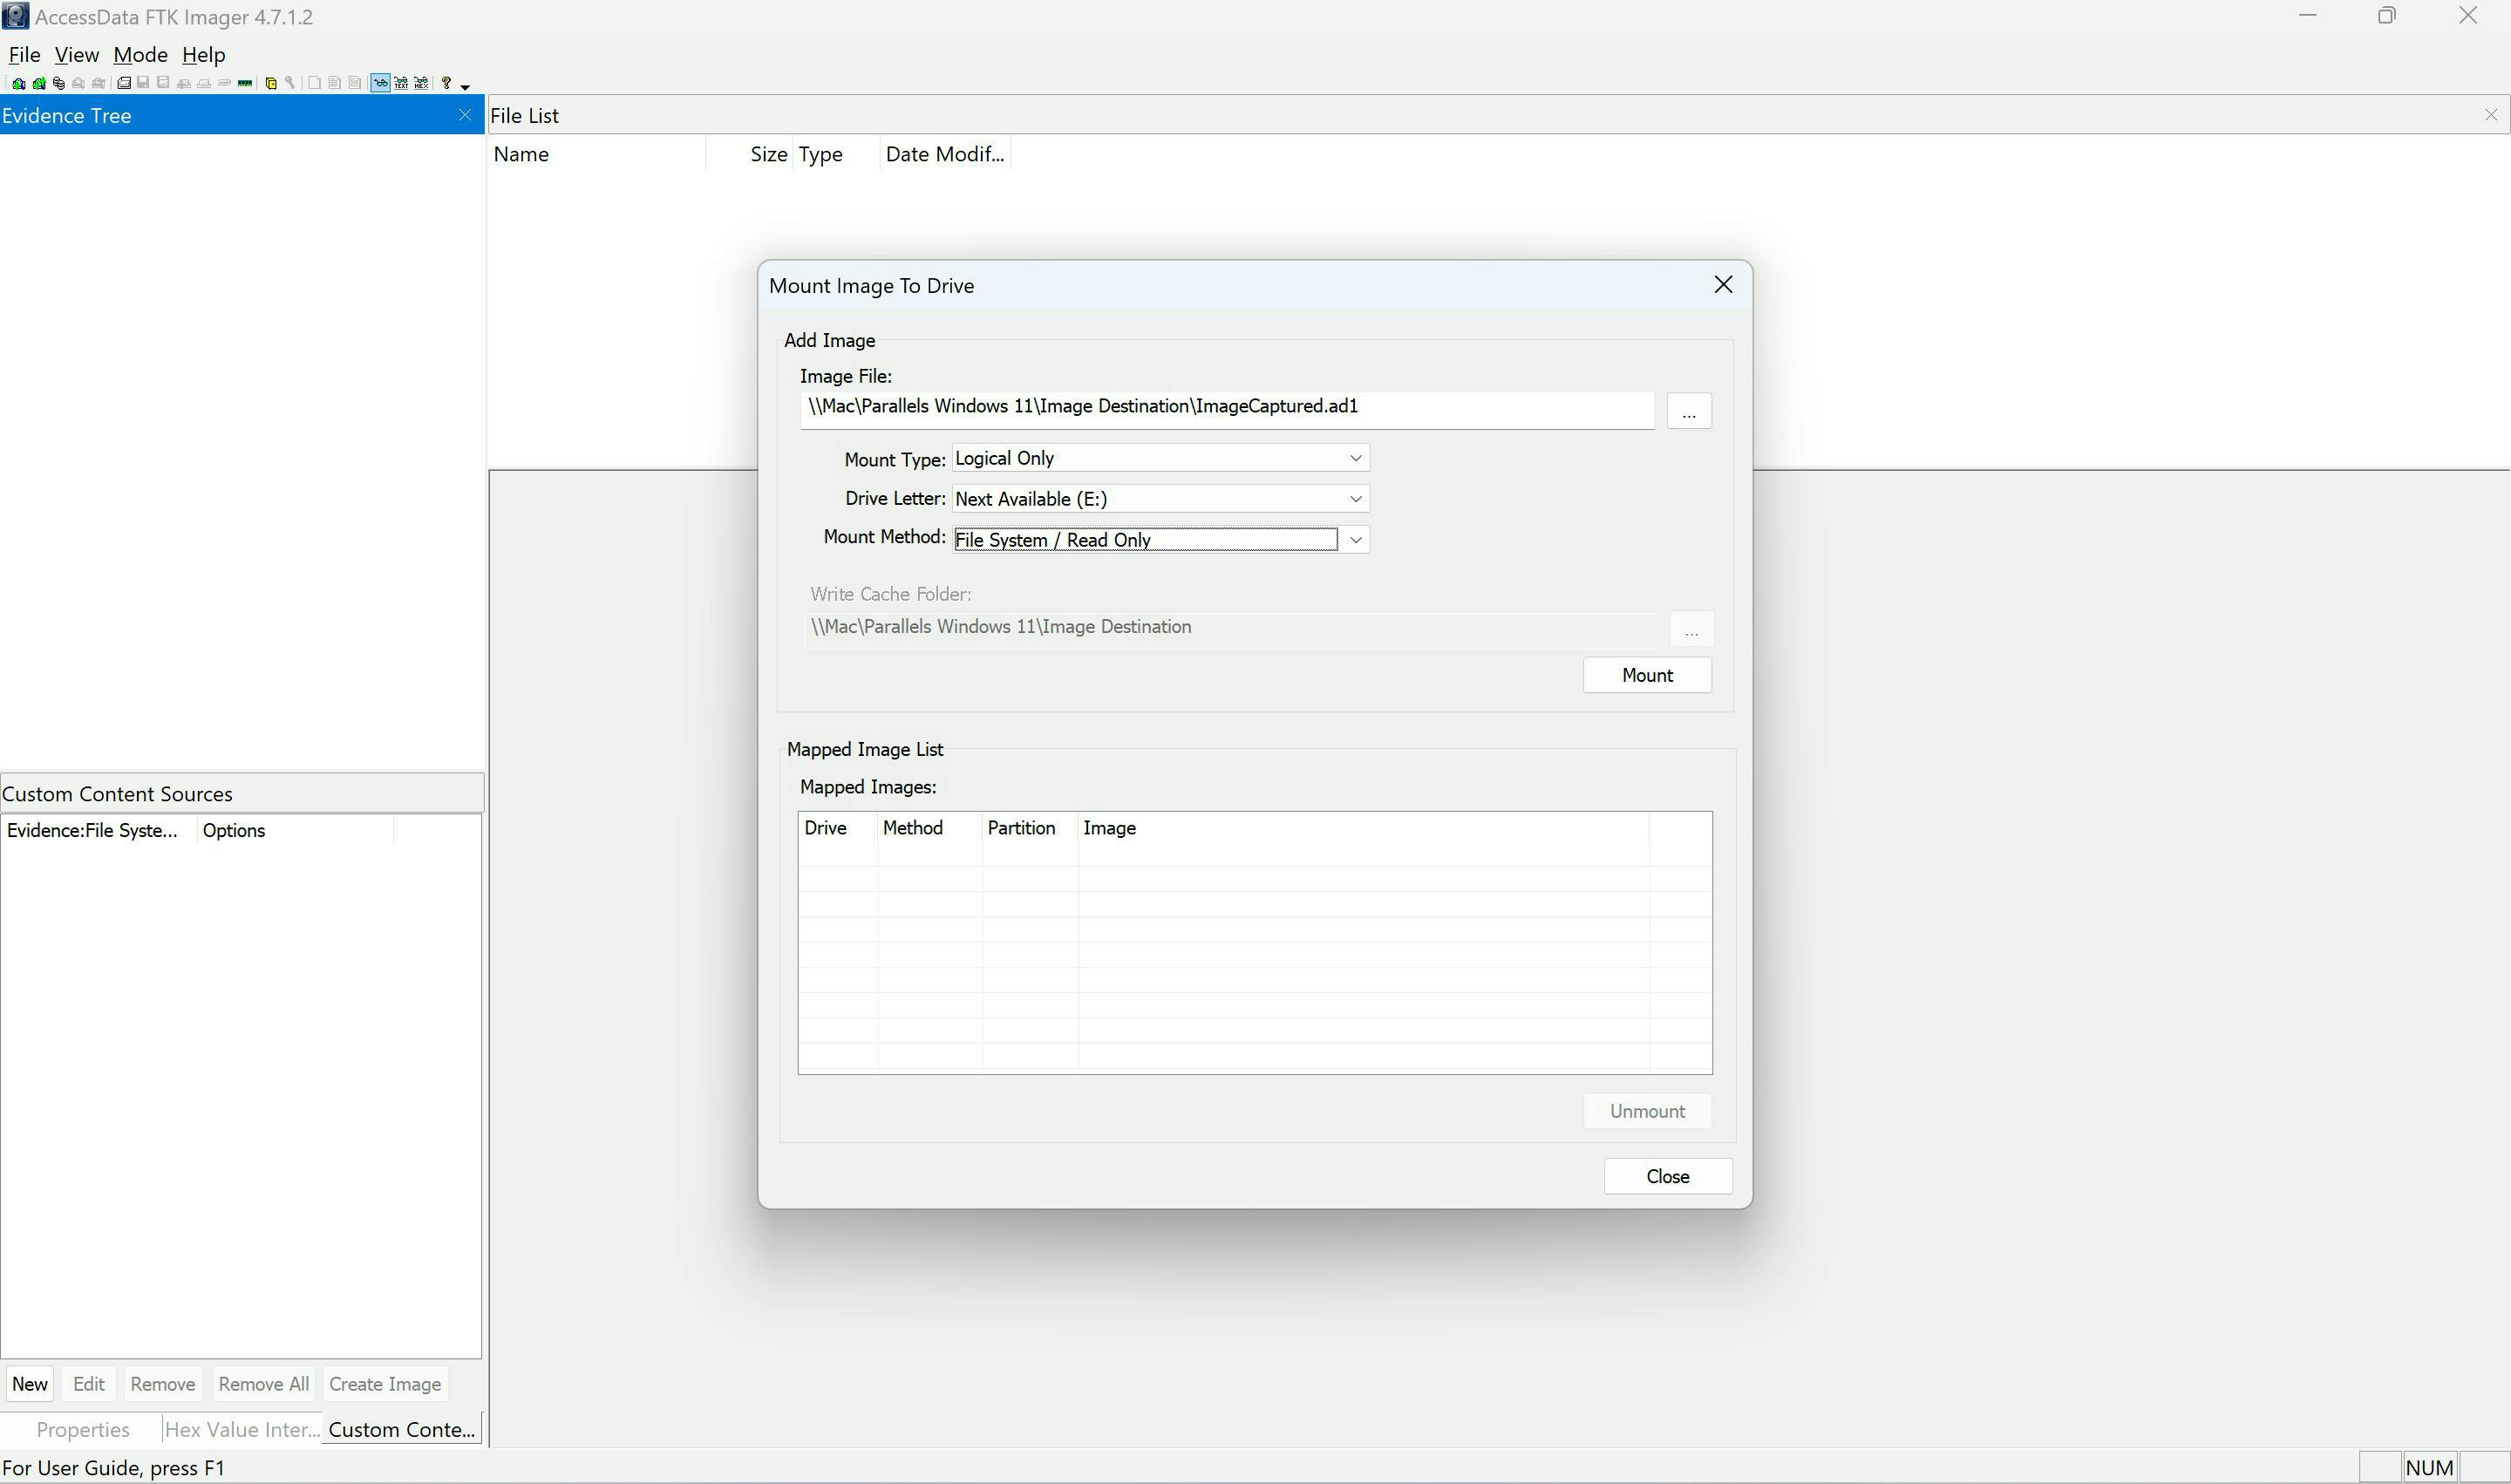
Open "File" and click on "Image Mounting".

Add the Image file by browsing and selecting the appropriate file.


From (1), you can see the different settings present:
a. Mount Type
b. Drive Letter
c. Mount Method
After this, (2) you can click on "Mount" to mount the Image to the Drive

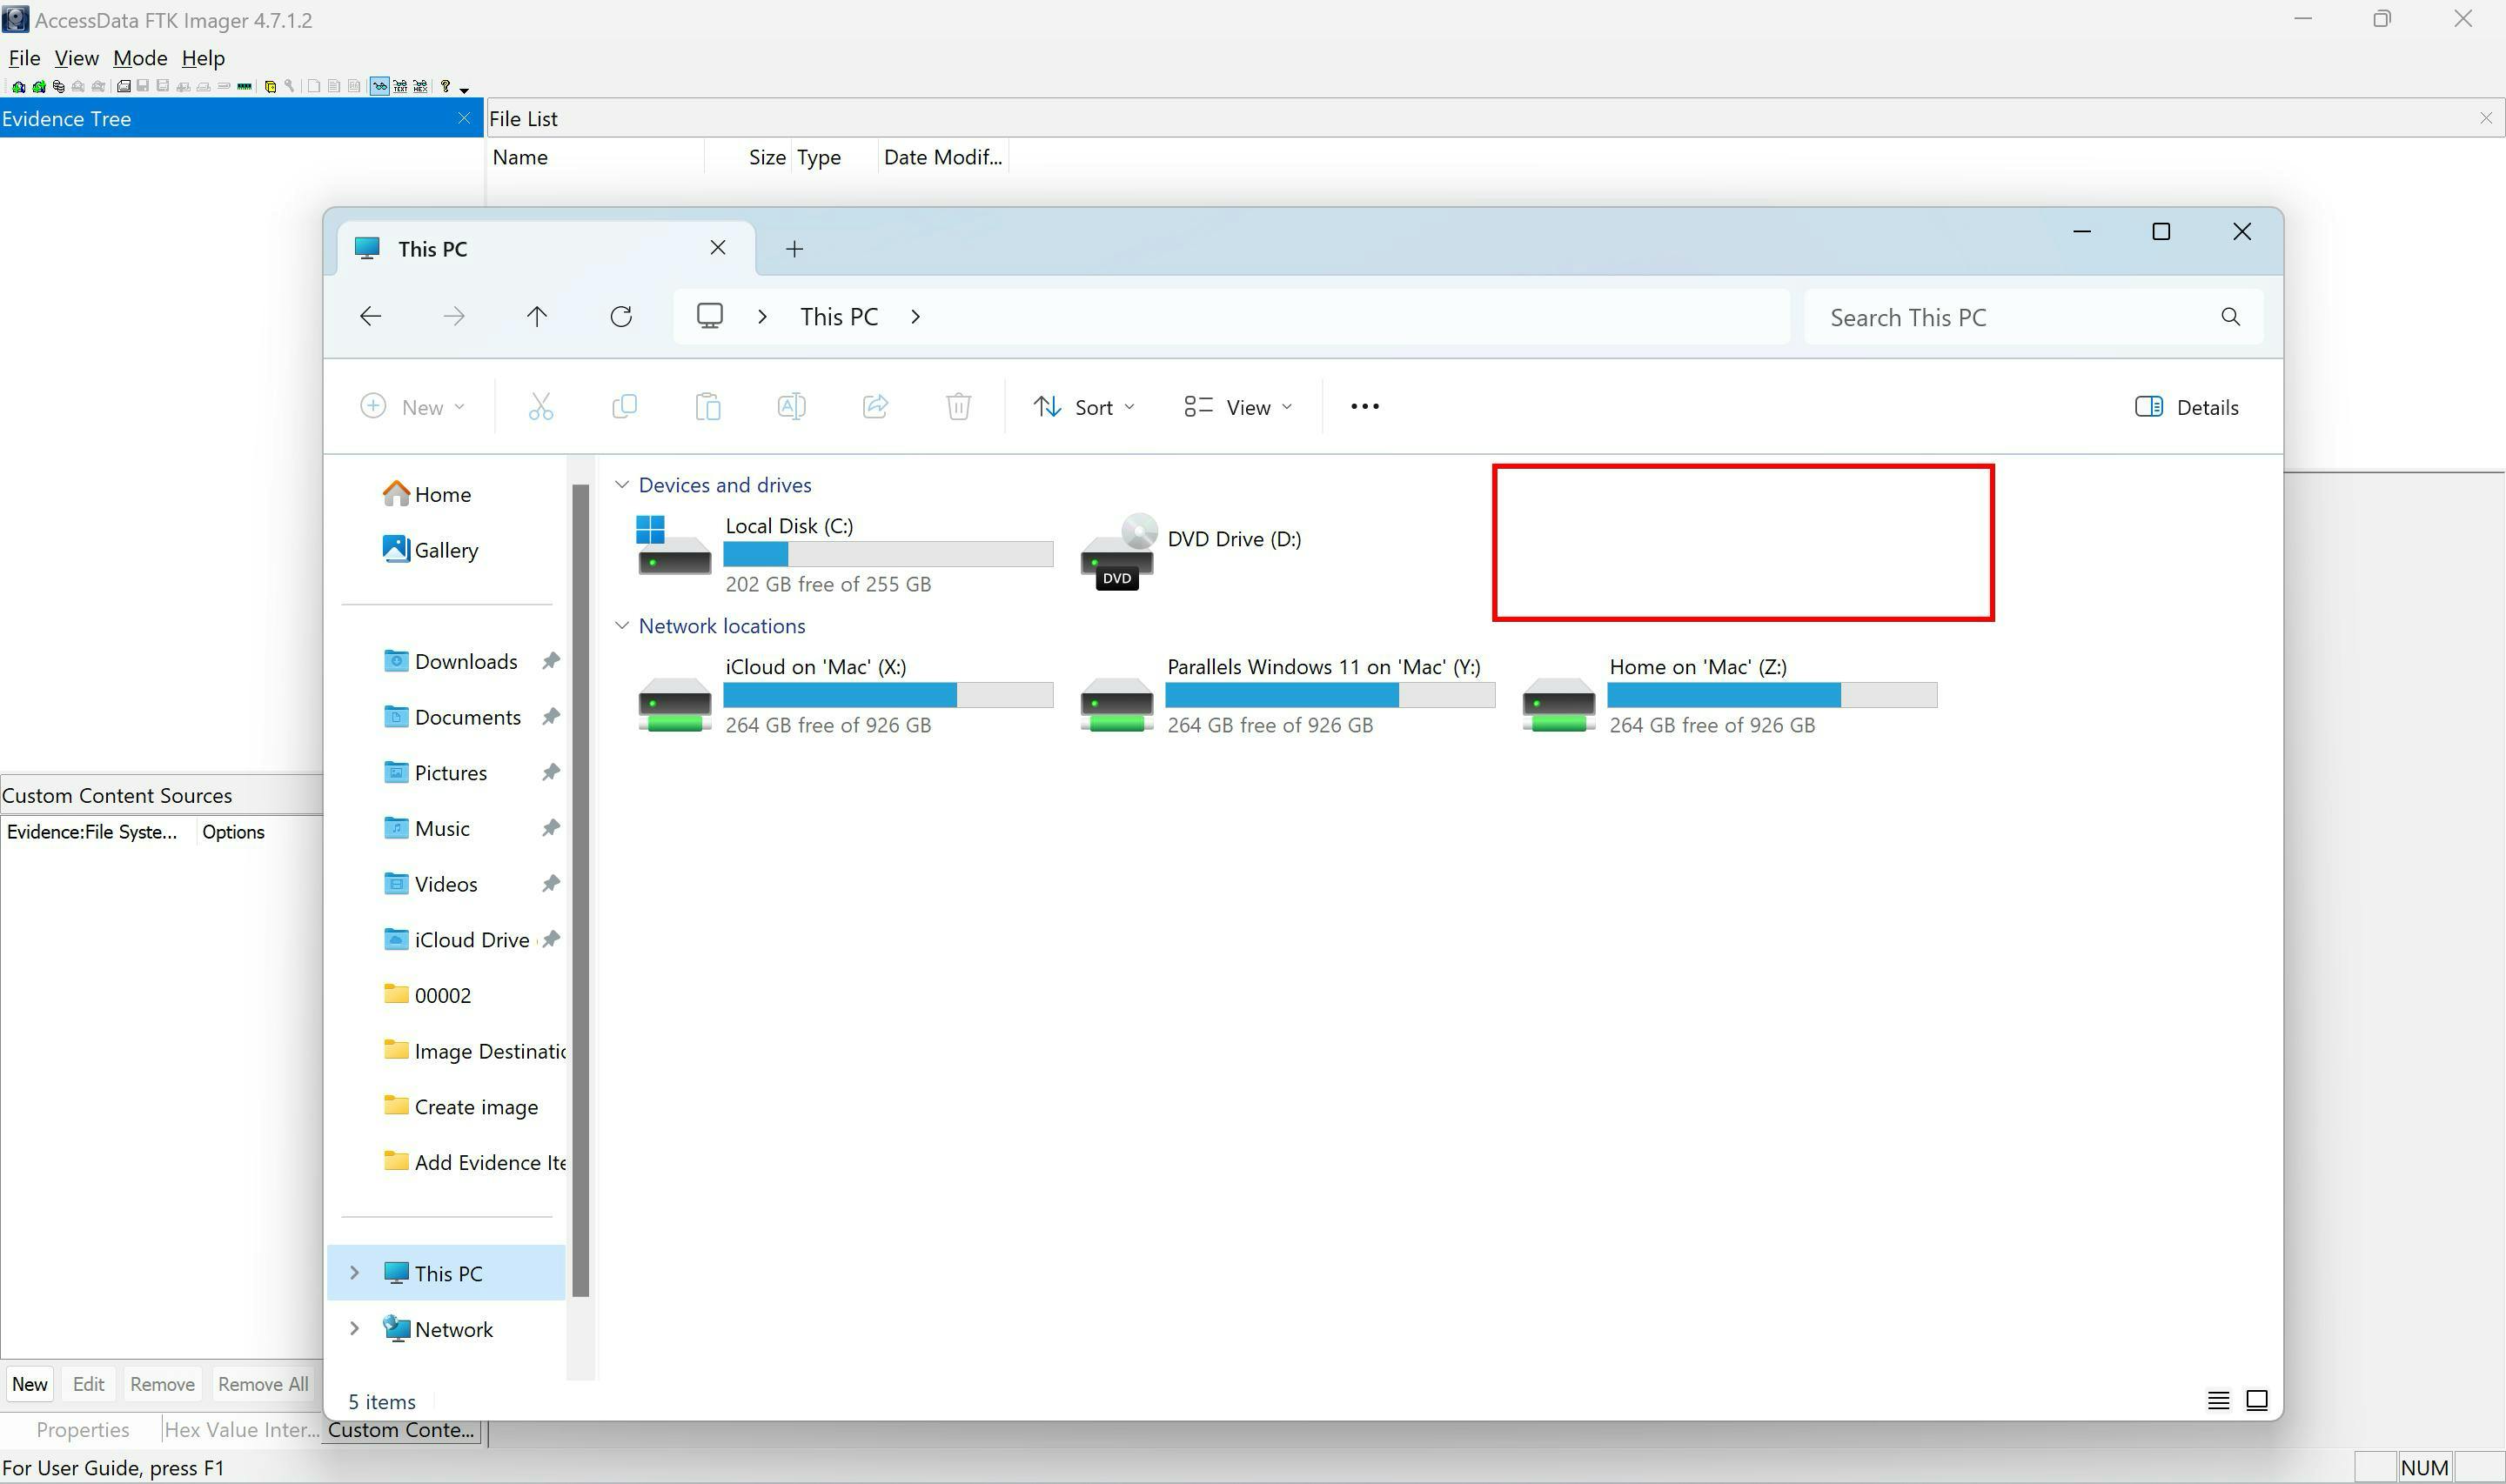
You can see the mounted image on the same Window as well as in File Explorer.


The image can be unmounted, by selecting it and then clicking on "Unmount".

Forensic image mounting is a key feature in digital forensics which allows investigators to access and analyze disk images without altering the original evidence. FTK Imager makes this process with its intuitive interface and customizable mounting options easier and simpler. By mounting images, investigators can conduct thorough examinations of digital evidence while preserving the integrity of the original data.
Conclusion
FTK Imager equips forensic investigators with the tool they need to uncover truth in the digital world, paving the way for successful and secure investigations.
🔍💻 Happy hunting! 🕵️♂️🔒